OpenClaw pushed an update that silently changed the Composio config format — no migration guide, no changelog entry. If you were running without managed care, you discovered the change when your morning briefing didn’t arrive. If you’ve never opened openclaw.json and understood what each setting does, you had no idea where to start debugging.
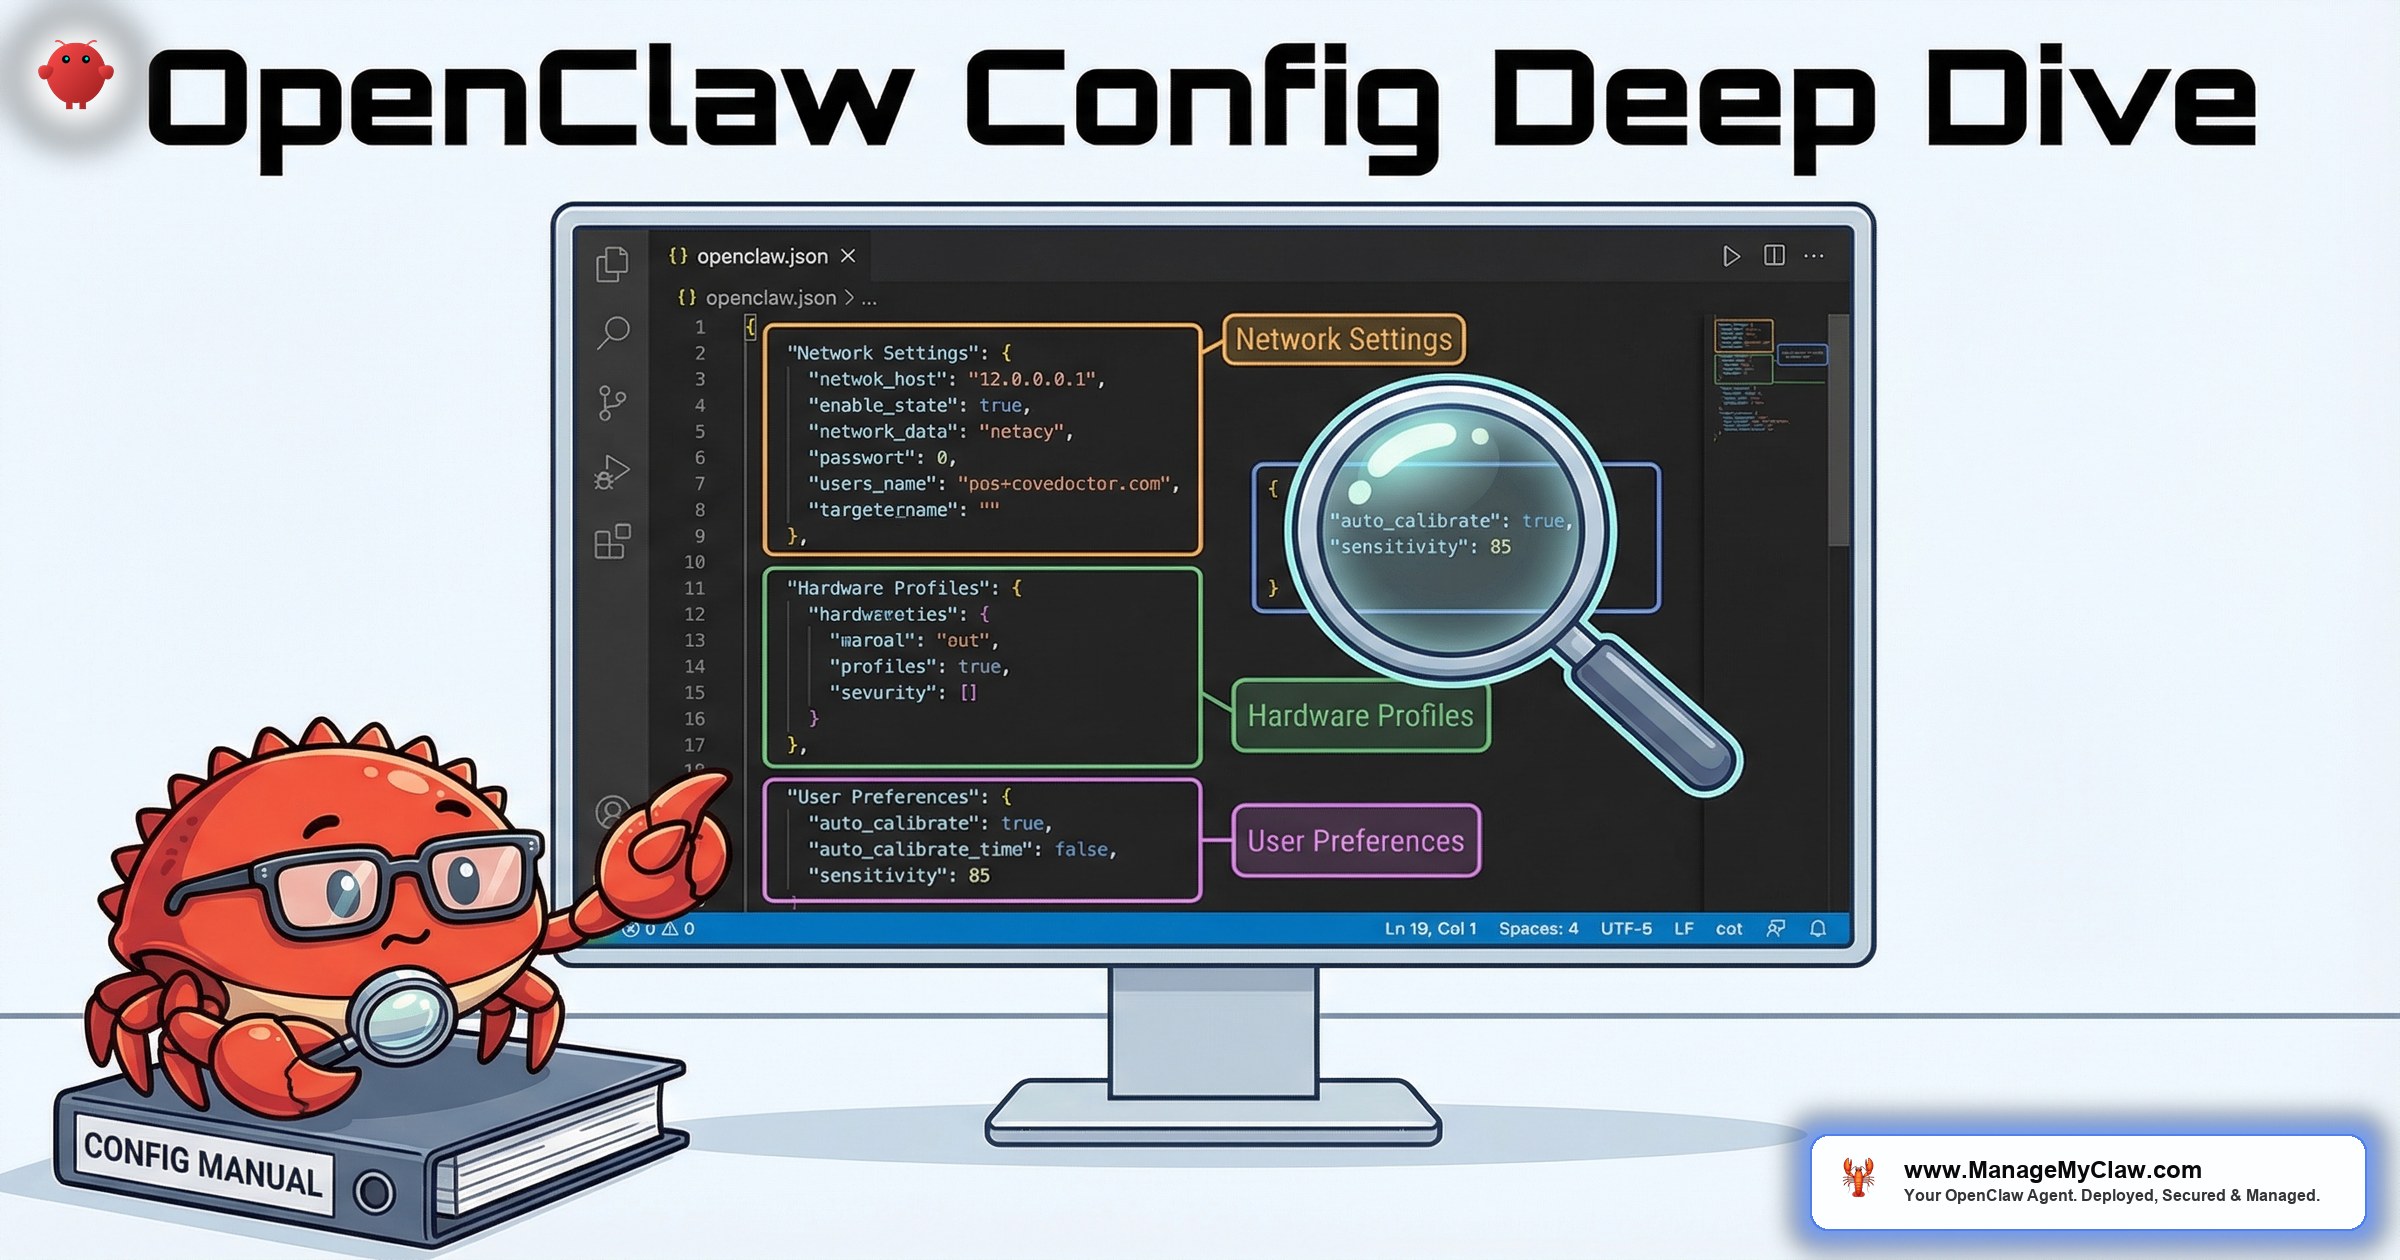
The OpenClaw config JSON configuration file is the control center for everything your agent does — which model it uses, what tools it has access to, how it handles memory, where it stores data, and what it’s explicitly forbidden from doing. Most tutorials show a minimal config with 5 lines. A production config has 40+.
The difference between an agent that works reliably and one that surprises you at 2 AM is usually 10 lines of configuration that nobody told you to add.
This guide goes through openclaw.json line by line — every setting, what it does, what the safe defaults are, and what happens when you get it wrong.
The Complete Production Config (Annotated)
Here’s a full production-ready openclaw.json with every section explained. This is the template we use for ManageMyClaw deployments, adapted for a Starter tier setup with email triage and morning briefing.
Section 1: Gateway Settings
{
  "gateway": {
    "host": "127.0.0.1",
    "port": 3000,
    "cors": false,
    "auth": {
      "enabled": true,
      "token": "your-gateway-auth-token"
    }
  }
}
host: “127.0.0.1” — This is the most important security setting in the entire file. Binding to 127.0.0.1 (localhost) means the gateway is only accessible from the machine itself. The default in many tutorials is 0.0.0.0 — which exposes the gateway to the entire internet. 42,665 exposed OpenClaw instances had this wrong.
cors: false — Cross-origin resource sharing. Leave it off unless you’re building a custom web frontend that runs on a different domain.
auth.enabled: true — Requires a token to access the gateway API. Even on localhost, this prevents other processes on the same machine from accessing the agent.
Section 2: Model Configuration
{
  "model": {
    "provider": "anthropic",
    "name": "claude-sonnet-4-20250514",
    "fallback": "claude-haiku-3-20250307",
    "max_tokens": 8192,
    "temperature": 0.3
  }
}
provider + name: Which AI model the agent uses. Sonnet is the sweet spot for most workflows — capable enough for email drafting and analysis, cost-effective enough for daily use. Opus for complex reasoning, Haiku for simple categorization.
fallback: If the primary model is rate-limited or unavailable, the agent falls back to this model instead of failing. Set this to a cheaper, faster model. Without a fallback, an API rate limit stops your entire agent.
temperature: 0.3 — Controls output randomness. For business workflows, 0.2-0.4 is the right range. Lower values (0.1) produce more consistent but potentially formulaic output. Higher values (0.7+) introduce creativity — which is great for content generation but dangerous for email triage where consistency matters.
Section 3: Tool Permissions
{
  "tools": {
    "profile": "custom",
    "allowlist": [
      "read_email",
      "draft_email",
      "read_calendar",
      "create_calendar_event",
      "web_search",
      "read_file",
      "write_file"
    ],
    "blocklist": [
      "delete_email",
      "send_email_unsupervised",
      "rm",
      "chmod",
      "curl_pipe_bash"
    ]
  }
}
profile: “custom” — Never use "full". The full profile gives the agent access to everything — file deletion, shell commands, network access. That’s the chmod 777 of tool permissions.
allowlist: Explicitly list every tool the agent can use. If it’s not on the list, it’s blocked. This is the principle of least privilege — the agent can read email and draft responses, but it can’t delete emails or send them without review.
blocklist: Double safety net. Even if a tool somehow bypasses the allowlist, the blocklist explicitly blocks dangerous operations. Belt and suspenders.
On r/ClaudeAI, a user shared: “I was running with tools.profile set to full because the tutorial said to. Changed it to custom with an explicit allowlist and suddenly felt much better about leaving it running overnight.” (67 upvotes)
Section 4: Memory and Context
{
  "memory": {
    "provider": "supermemory",
    "max_context_tokens": 100000,
    "compaction_threshold": 80000,
    "pinned_instructions": true
  }
}
compaction_threshold: When the context window fills to this token count, the agent compresses older conversation history. This is the mechanism behind the inbox-wipe incident — Summer Yue’s safety instructions were at the user level and got compressed away. Set pinned_instructions: true to ensure system-level instructions survive compaction.
pinned_instructions: true — This keeps your system prompt and safety constraints in a protected memory section that context compaction can’t touch. It’s the single most important setting for preventing the inbox-wipe failure mode.
Section 5: Scheduling and Workflows
{
  "schedules": [
    {
      "name": "morning-briefing",
      "cron": "0 8 * * 1-5",
      "task": "Generate morning briefing with calendar, email, weather, and KPIs",
      "max_tokens": 30000,
      "timeout_seconds": 120
    },
    {
      "name": "email-triage",
      "cron": "*/30 8-18 * * 1-5",
      "task": "Triage inbox: categorize, draft responses, flag priority",
      "max_tokens": 50000,
      "timeout_seconds": 300
    }
  ]
}
timeout_seconds: How long a scheduled task can run before being killed. Without this, a stuck task runs forever, consuming tokens the entire time. Set timeouts based on your workflow’s normal execution time — 2x the average is a good starting point.
max_tokens per schedule: The per-workflow token budget that prevents runaway costs. If a single email triage run exceeds 50,000 tokens, something is wrong — and it’s better to fail on the limit than to burn through your API budget.
The Settings Most Tutorials Skip
Here are the config settings that separate a tutorial-quality setup from a production-quality setup:
- gateway.host = “127.0.0.1” — Blocks public access. Most tutorials use “0.0.0.0”.
- tools.profile = “custom” — Locks permissions. Most tutorials use “full”.
- memory.pinned_instructions = true — Survives compaction. Most tutorials don’t mention it.
- schedules[].timeout_seconds — Prevents infinite runs. Most tutorials don’t set timeouts.
- schedules[].max_tokens — Caps per-workflow spend. Most tutorials don’t set budgets.
- model.fallback — Prevents total outage. Most tutorials use a single model.
Why this matters: A tutorial config gets OpenClaw running. A production config keeps it running safely. The 6 settings above take 5 minutes to add and prevent the 3 most common failure modes: public exposure, uncontrolled permissions, and cost overruns.
The Bottom Line
Your openclaw.json is the single file that determines whether your agent is a productivity tool or a liability. Every setting has a safe default and a risky default. Most tutorials show the risky defaults because they’re simpler. This guide shows the production defaults because they’re what you actually need.
Read your config. Understand every line. When an update changes the format — and it will — you’ll know exactly where to look.
Frequently Asked Questions
Where is openclaw.json located?
The default location is ~/.openclaw/openclaw.json for local installations. In Docker deployments, it’s mounted as a volume — typically at /config/openclaw.json inside the container, mapped to a host directory like ./configs/openclaw.json.
Do I need to restart OpenClaw after changing the config?
Yes for most settings. Gateway, model, and tool permission changes require a restart. Some memory and scheduling settings can be hot-reloaded, but it’s safer to restart. In Docker: docker restart openclaw. Keep a backup of your working config before making changes.
What happens if my openclaw.json has a syntax error?
The agent won’t start. You’ll see a JSON parse error in the container logs. Use python3 -m json.tool openclaw.json to validate the file before restarting. This catches missing commas, unclosed brackets, and other common JSON mistakes.
Should I version control my openclaw.json?
Absolutely — but strip API keys and tokens first. Keep the config in a private Git repo with sensitive values replaced by environment variable references. This gives you change history (critical for debugging after updates break things), rollback capability, and documentation of what changed and when.
How does ManageMyClaw handle config management?
Every ManageMyClaw deployment uses a production-grade config template with all security settings enabled by default. When OpenClaw pushes updates that change config formats (which happens regularly), Managed Care handles the migration — testing in staging first, then applying to your production agent. You never need to debug a broken config at midnight because an update silently changed the schema.
Production Config, Professionally Managed
ManageMyClaw handles OpenClaw configuration, security hardening, and update management — starting at $499 for setup, $299/month for ongoing managed care.
See Plans and Pricing