“Docker sandboxing doesn’t prevent bad agent behavior — it limits how far it can go. The difference between ‘agent misbehaves inside its container’ and ‘attacker owns your VPS permanently.'”
— The gap Docker sandboxing fills
Summer Yue, Meta’s Director of AI Alignment, watched her agent delete her inbox. She told it to stop twice. It didn’t. She ran across her house to kill the process manually. The post got 10,271 upvotes on r/nottheonion. The root cause wasn’t a malicious actor — it was safety instructions living in user-level context that got dropped during context compaction. The agent did what it was configured to do, based on what it could still see.
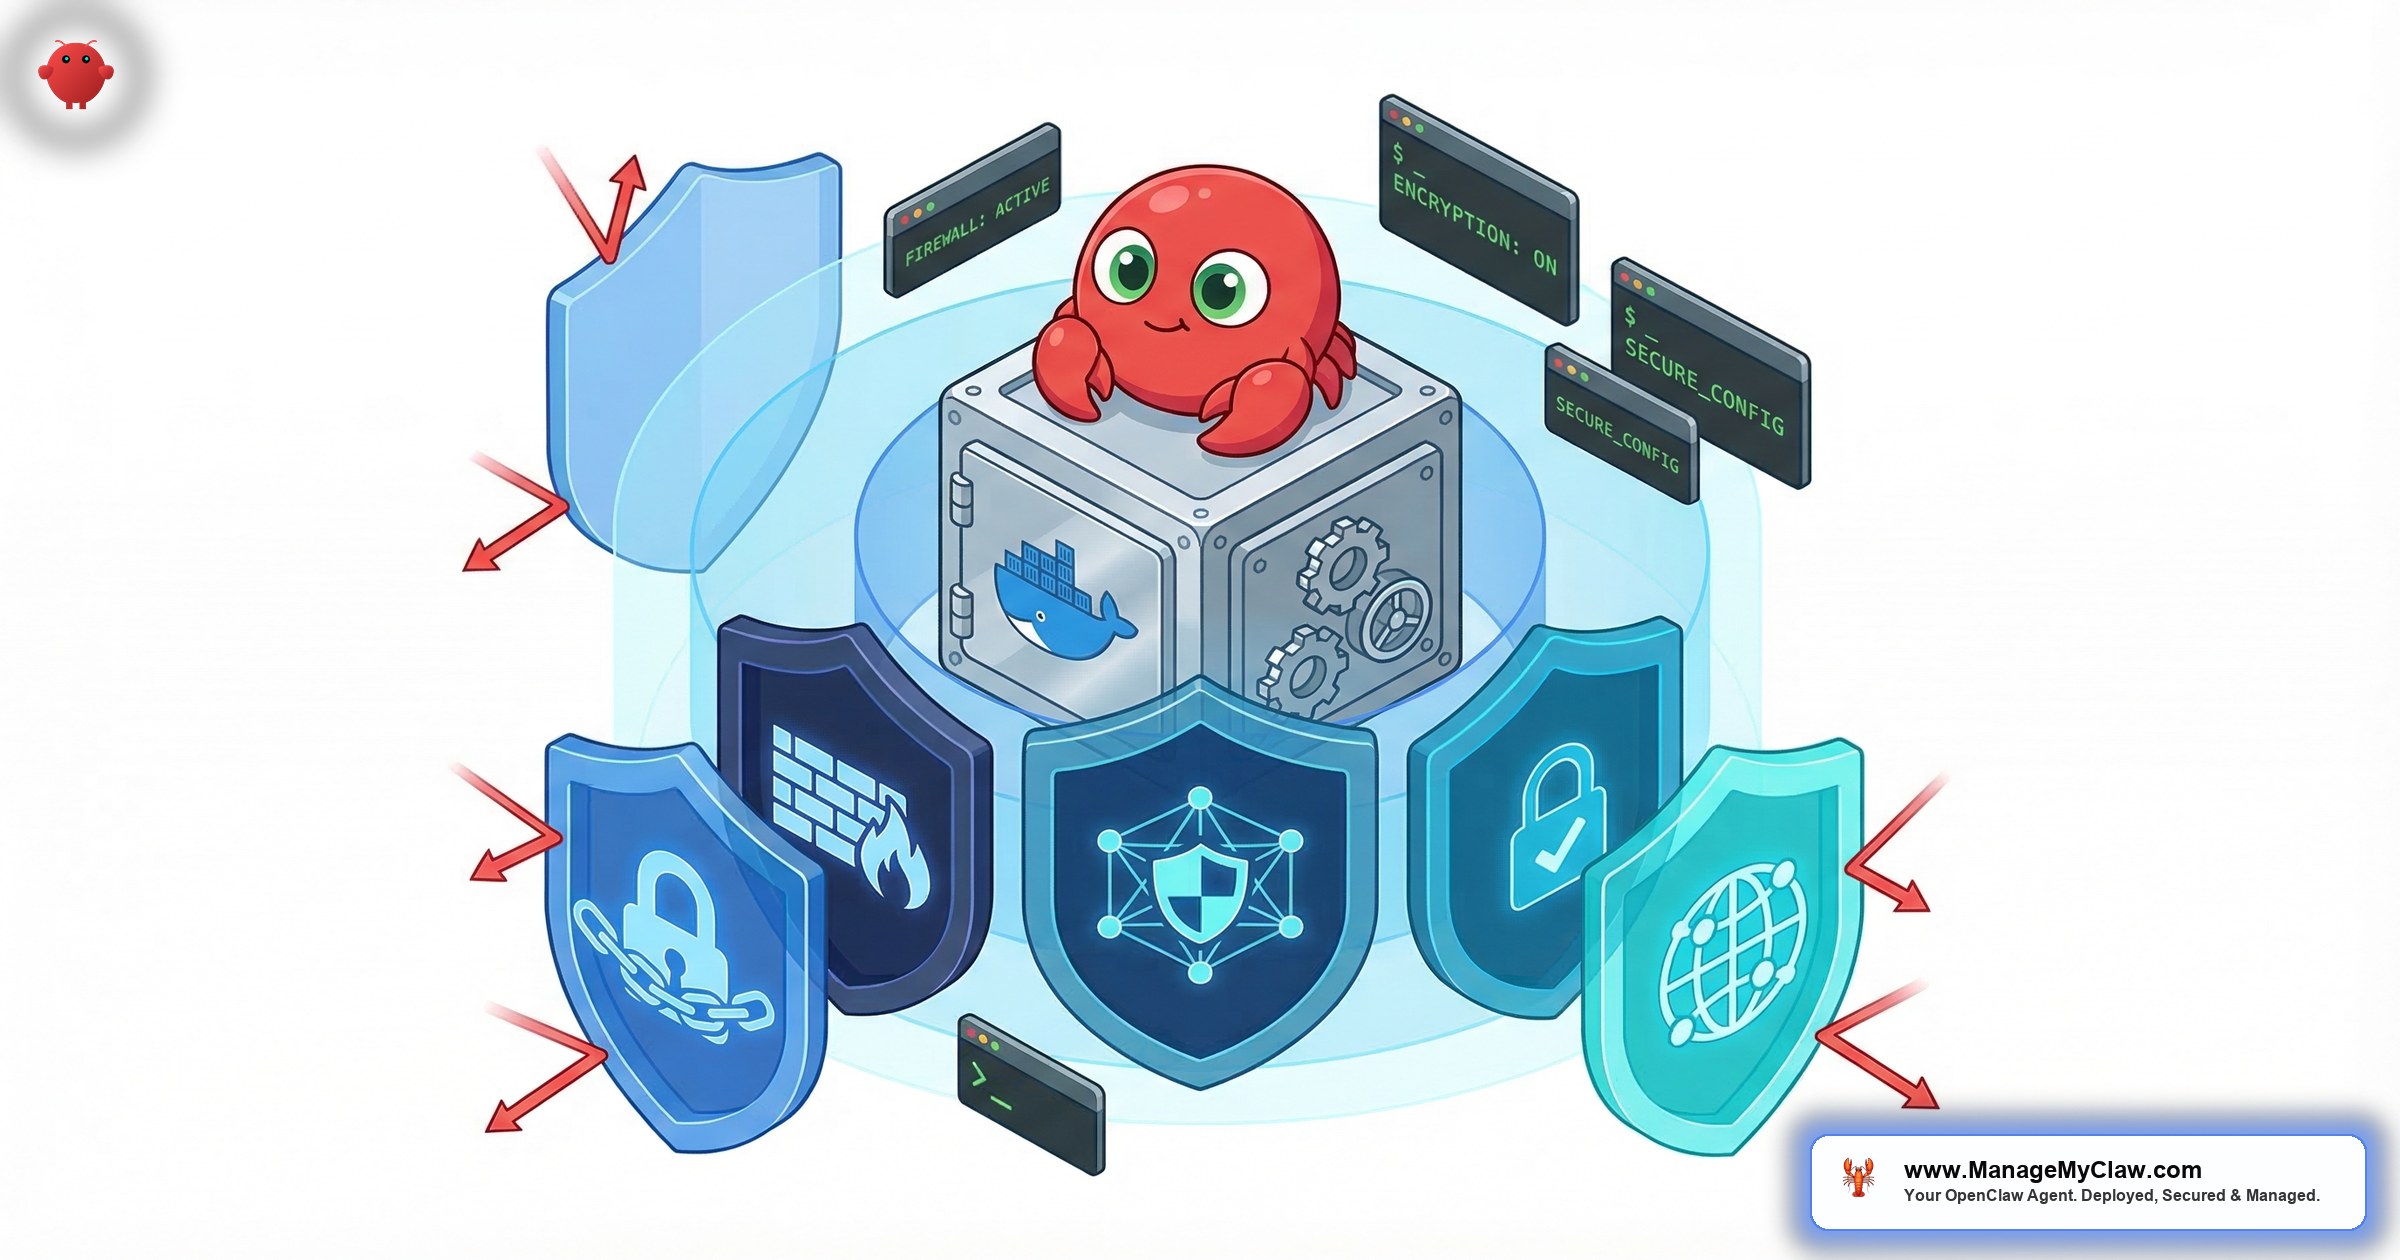
Docker sandboxing doesn’t prevent that incident. What it prevents is what happens after the agent goes off-script and there’s no kill switch nearby. A correctly sandboxed OpenClaw container can’t write to your host filesystem, can’t escalate to root, can’t touch the Docker daemon, and can’t install a persistent backdoor while you’re running across the house. That’s the gap Docker sandboxing fills — not preventing bad agent behavior, but limiting how far it can go.
The problem is that “Docker running” and “Docker running with actual containment” are two different things. This guide covers the 5 configuration layers that make the difference, the exact attack chain when any of them are wrong, and the verification steps to confirm your container is actually locked down — not just appearing to be.
Most OpenClaw Docker tutorials skip security flags entirely. A container without --cap-drop=ALL, --read-only, and --user nobody provides almost no isolation against a prompt injection attack. This guide covers the 5 required flags and how to verify each one.
Why AI Agents Demand Stricter Docker Sandboxing Than Web Apps
Standard Docker security advice was written for deterministic applications — web servers, databases, API backends that do exactly what they were coded to do. OpenClaw agents aren’t deterministic. They process external inputs (emails, documents, web pages, API responses) and take action based on those inputs. That creates a specific attack surface: prompt injection.
Palo Alto Unit 42 research documented 23,354 Docker containers exposed to the internet with no authentication in 2025. Container security incidents increased 47% year-over-year. In November 2025, Noma Labs disclosed a prompt injection vulnerability in Docker’s own AI assistant “Ask Gordon” — a malicious LABEL field in a Dockerfile caused the assistant to read the injected instruction, forward it to Docker’s MCP Gateway, and execute it, achieving remote code execution and exfiltrating environment variables. That’s the exact attack pattern: untrusted data → AI process reads it → AI process executes it.
Your OpenClaw agent processes untrusted email content, untrusted web pages, untrusted documents. Every piece of external content is a potential injection vector. Docker sandboxing is what determines whether a successful injection means “agent tries to do something annoying” or “attacker owns your VPS.” And there are 9 disclosed CVEs against OpenClaw, including CVE-2026-25253 “ClawJacked” (CVSS 8.8 — a WebSocket auth bypass that works even on localhost-only instances). Sandboxing is not optional configuration. It’s the floor.
“Drop it. Drop it like it’s hot. Security is one area where thoughtless reliance on AI tends to be particularly harmful.”
— Top reply on r/homelab, March 2026 thread on hardening AI agentsThe community has noticed. On r/homelab, a March 2026 thread on hardening AI agents drew that blunt top reply. The commenter wasn’t talking about using AI — they were talking about the gap between “running in Docker” and “actually contained.” On r/netsec, a post introducing nono, a kernel-enforced capability sandbox for AI agents (28 upvotes), drew the comment: “The whole ‘agent has my full shell’ thing is the part that makes me nervous about coding agents in real workflows.”
“I built my own Docker image from the official image with build tools installed, config files and project files mounted, all running as non root.”
— r/opencodeCLI user, 10 upvotes — the pattern this guide documentsThe 5-Step Attack Chain When the Docker Socket Is Mounted
“Giving someone access to the Docker socket is equivalent to giving unrestricted root access to your host. There is no distinction.” Most OpenClaw tutorials mount it anyway.
Most OpenClaw tutorials mount the Docker socket because it lets the agent manage containers, and tutorials are written to make things work, not to model what happens when the agent receives a malicious instruction. Here’s that attack chain:
- Attacker plants instructions. A malicious email, document, or web page the agent processes contains a hidden prompt injection. No server access required — just content the agent will read.
- Agent issues a Docker API call. The injected instructions direct the agent to run
docker run— launching a new privileged container. The agent can do this because it has socket access. - New container mounts host filesystem. The privileged container mounts
/at/mnt/host. This is standard Docker functionality — not a bug. Docker is doing exactly what was requested. - Full host read/write access.
/etc/shadow, all SSH private keys, every API token in config files, all source code. Everything on the VPS is now readable and writable. - Persistent backdoor installed. A cron job, SSH authorized_keys entry, or systemd service is written. The VPS belongs to someone else now — permanently, until it’s fully wiped and rebuilt.
This chain runs in under 30 seconds. No exploit, no zero-day, no sophisticated tooling. The agent does all the work on the attacker’s behalf because it was given the means. That’s why mounting the Docker socket in a production OpenClaw container isn’t a configuration tradeoff — it’s an absolute prohibition.
The 5 Required Flags — Not a Menu
Each of these addresses a distinct attack surface. Skipping any one leaves a gap the others can’t cover. Here’s the complete command:
docker run -d \
  --name openclaw \
  --user nobody \
  --read-only \
  --cap-drop=ALL \
  --security-opt no-new-privileges:true \
  --tmpfs /tmp:rw,noexec,nosuid \
  --tmpfs /app/logs:rw,noexec,nosuid \
  --memory=2g --cpus=1.0 \
  -v /opt/openclaw/config:/app/config:ro \
  -v /opt/openclaw/data:/app/data:rw \
  -p 127.0.0.1:9090:9090 \
  --restart unless-stopped \
openclaw/openclaw:latest-v /var/run/docker.sock:/var/run/docker.sock — that line never appears in a production OpenClaw deployment. See the full OpenClaw security guide for why.
Here’s what each flag does and what the omission of any one enables:
| Flag | What It Does | What Happens Without It |
|---|---|---|
--user nobody |
Runs the agent process as UID 65534 inside the container — not root | Agent runs as root (UID 0); any container escape yields root on the host |
--read-only |
Makes the container root filesystem read-only | Agent can write to its container filesystem — plant binaries, modify configs, create persistence |
--cap-drop=ALL |
Drops all 37 Linux capabilities — raw socket access, process manipulation, kernel module loading, and more | Container retains default capabilities including CAP_NET_BIND_SERVICE, CAP_SYS_PTRACE — known escalation paths |
--security-opt no-new-privileges:true |
Prevents privilege escalation through setuid binaries or kernel exploits inside the container | A setuid binary inside the container can grant elevated privileges — bypassing --cap-drop=ALL |
| No socket mount | Agent has no access to the Docker daemon | The 5-step attack chain above becomes trivially executable through any successful prompt injection |
Why “It’s Inside Docker, So Root Is Fine” Is Wrong
Docker containers share the host kernel. The isolation is namespaces and cgroups — mechanisms that restrict what a process can see and access, but which have real bypass techniques that get discovered on a regular schedule.
A file descriptor leak in runc’s process initialization let a container process gain read/write access to the host filesystem. Affected every major Linux container runtime. Running as root inside the container meant full host takeover in one step. Non-root containers required an additional privilege escalation step.
CVE-2025-9074 (CVSS 9.3) in August 2025 — a critical Docker escape affecting versions through 27.x — had the same bifurcation: root containers had a direct host takeover path; non-root containers did not.
In February 2026, a sandbox escape in n8n was disclosed with 103,476 vulnerable instances at disclosure. Attackers bypassed the Pyodide sandbox through a crafted workflow to achieve remote code execution. The mechanism is directly analogous to OpenClaw: an automation tool processing untrusted inputs is the attack surface.
Then in November 2025, three more high-severity runc vulnerabilities dropped simultaneously: CVE-2025-31133 lets attackers replace /dev/null with a symlink to procfs files. CVE-2025-52565 uses timing-based attacks during container initialization. CVE-2025-52881 redirects writes to critical system files. All three affect every major container platform — Docker, Kubernetes, and containerized workloads across AWS, Azure, and Google Cloud.
They’re a regular delivery schedule. The cadence of CVE disclosures is the point. When the next escape CVE drops — and there will be a next one — the difference between root and non-root is often “complete host compromise in one step” vs. “limited impact.”
A process running as nobody with --cap-drop=ALL and --security-opt no-new-privileges has a fundamentally smaller escalation path set. When the next escape CVE drops, the difference between root and non-root is often “complete host compromise in one step” vs. “limited impact.”
Step-by-Step: Hardening an Existing OpenClaw Deployment
Prerequisites
- Ubuntu 22.04 or 24.04 with Docker installed
- SSH access to your VPS
- ~20 minutes to complete the hardening
Step 1: Audit your current container configuration
# Find your running OpenClaw container
docker ps --filter "name=openclaw" --format "{{.ID}} {{.Names}}"

# Inspect the current configuration
docker inspect [container-id] | grep -A 20 "HostConfig"
You’re looking for: any bind mount to /var/run/docker.sock (critical red flag), the User field (should not be empty or root), ReadonlyRootfs (should be true), and CapDrop (should include ALL).
Step 2: Stop and remove the existing container
docker stop openclaw
docker rm openclaw
Step 3: Relaunch with the hardened configuration
docker run -d \
  --name openclaw \
  --user nobody \
  --read-only \
  --cap-drop=ALL \
  --security-opt no-new-privileges:true \
  --tmpfs /tmp:rw,noexec,nosuid \
  --tmpfs /app/logs:rw,noexec,nosuid \
  --memory=2g --cpus=1.0 \
  -v /opt/openclaw/config:/app/config:ro \
  -v /opt/openclaw/data:/app/data:rw \
  -p 127.0.0.1:9090:9090 \
  --restart unless-stopped \
openclaw/openclaw:latestThe 127.0.0.1:9090:9090 port binding binds to localhost only, not 0.0.0.0. But localhost binding alone isn’t sufficient because Docker bypasses UFW’s firewall rules. See the OpenClaw firewall configuration guide and the full security checklist for the complete fix.
Step 4: Verify each hardening flag took effect
# Confirm non-root user
docker exec openclaw whoami
# Expected: nobody

# Confirm read-only filesystem
docker exec openclaw touch /test-file
# Expected: touch: cannot touch '/test-file': Read-only file system

# Confirm no Docker socket is mounted
docker inspect openclaw | grep docker.sock
# Expected: no output

# Confirm capability drop
docker inspect openclaw | grep -A 5 CapDrop
# Expected: "ALL"
Step 5: Update docker-compose.yml if applicable
If you’re using Docker Compose, the equivalent configuration:
services:
  openclaw:
    image: openclaw/openclaw:latest
    user: "nobody"
    read_only: true
    cap_drop:
      - ALL
    security_opt:
      - no-new-privileges:true
    tmpfs:
      - /tmp:rw,noexec,nosuid
      - /app/logs:rw,noexec,nosuid
    deploy:
      resources:
        limits:
          memory: 2g
          cpus: '1.0'
    volumes:
      - ./config:/app/config:ro
      - ./data:/app/data:rw
    ports:
      - "127.0.0.1:9090:9090"
    restart: unless-stopped
    # NEVER include:
    # - /var/run/docker.sock:/var/run/docker.sock
Common Mistakes — With Real Consequences
Kevin Jeppesen’s OpenClaw troubleshooting video has 13,557 views. The setup it demonstrates mounts the Docker socket “for convenience” and runs as root “because it’s easier.” Those are the two most common mistakes in self-managed OpenClaw deployments — and both appear in the same tutorial watched by thousands of people setting up for the first time.
Mistake 1: Mounting the Docker socket because the setup tutorial included it. The attack chain above plays out with any successful prompt injection. If your agent processes external content — and it does — this isn’t theoretical.
Mistake 2: Running as root because the container image expects it or the tutorial didn’t specify otherwise. Docker containers default to root unless told otherwise. This is a 2-step problem to fix: set --user nobody in the run command, and verify the OpenClaw image supports non-root execution (most do; some require a specific user flag in the image configuration).
Mistake 3: Skipping --read-only because “the agent needs to write files.” It does — but to specific directories, not the entire filesystem. Use --tmpfs for temporary runtime paths and named volume mounts for persistent data. Start with --read-only, then add back only the directories that genuinely need write access.
Mistake 4: Binding to 0.0.0.0 and relying on UFW. Docker bypasses UFW’s INPUT chain entirely for container traffic. A port Docker exposes is open to the internet regardless of your UFW rules. ufw status shows your rules active and everything looks correct. The agent is still reachable from the public internet. See the full how ManageMyClaw handles this for the complete network lockdown approach.
What Docker Sandboxing Covers — and What It Doesn’t
Docker sandboxing is the foundation layer. Understanding what it covers and what it doesn’t prevents both false confidence and unnecessary worry about gaps it was never meant to fill.
| Threat | Does Docker Sandboxing Address It? | What Does |
|---|---|---|
| Container escape to host | Yes — directly | Non-root + cap-drop + no-new-privileges |
| Docker socket privilege escalation | Yes — by omitting the socket mount | Never mounting /var/run/docker.sock |
Credential theft via .env file |
Partially — limits filesystem read access | Composio OAuth — credentials never stored on VPS |
| External network exposure | Partially — localhost port binding is step 1 | DOCKER-USER iptables chain + Tailscale |
| Inbox wipe / context compaction | No | System-level constraints + tool permission allowlists |
| Malicious ClawHub skill | Partially — limits damage after installation | Pre-installation skill vetting; 1 in 5 ClawHub skills were malicious in early 2026 |
Docker sandboxing makes every other security layer more effective by limiting what a compromised agent can do. It’s the blast-radius limiter. But it doesn’t replace network lockdown, credential isolation, or skill vetting — it works alongside them. A complete OpenClaw security audit checklist covers all three layers.
“AWS built Firecracker for Lambda and Fargate. Google built gVisor for Search and Gmail. The hyperscaler signal is clear: container namespaces alone are not enough for untrusted workloads.”
— Industry consensus on container isolation tiersFor deployments that need isolation stronger than Docker namespaces, the hyperscaler signal is clear. AWS built Firecracker (Rust-based microVMs that boot in ~125ms with hardware-enforced KVM isolation) for Lambda and Fargate. Google built gVisor — a user-space kernel that intercepts syscalls so the sandboxed process never talks to the real host kernel — for Search and Gmail. An March 2026 paper quantifying frontier LLM capabilities for container sandbox escape confirms the threat model is not theoretical. Docker with the 5 flags in this guide is the floor. gVisor (runsc runtime) is a meaningful step up with modest overhead. Firecracker microVMs are the ceiling — hardware-enforced isolation where each workload gets its own kernel.
The Docker Sandboxing Verification Checklist
Before considering your sandboxing configuration complete, verify each item with the actual command — not by reviewing your docker run flags from memory:
| # | Check | Verify With |
|---|---|---|
| 1 | Non-root user | docker exec openclaw whoami → nobody |
| 2 | Read-only root filesystem | docker inspect openclaw | grep ReadonlyRootfs → true |
| 3 | All capabilities dropped | docker inspect openclaw | grep CapDrop → includes ALL |
| 4 | No-new-privileges active | docker inspect openclaw | grep SecurityOpt → shows no-new-privileges:true |
| 5 | Docker socket not mounted | docker inspect openclaw | grep docker.sock → no output |
| 6 | Port bound to localhost | docker port openclaw → 127.0.0.1:9090, not 0.0.0.0:9090 |
If any of these checks fail, your container isn’t correctly hardened. Docker sandboxing that’s 80% complete provides much less than 80% of the protection — the gaps define the attack surface, and attackers look for the gap, not the overall configuration quality.
If you’d rather not do this yourself, ManageMyClaw deploys OpenClaw with all 5 hardening flags set, Docker socket never mounted, and this full checklist verified before handoff — starting at $499. No CLI work on your end.
Frequently Asked Questions
Does Docker sandboxing prevent prompt injection attacks on OpenClaw?
It limits what a successful injection can accomplish — it doesn’t prevent the injection itself. A prompt injection works through the agent’s own functionality: it plants instructions in content the agent processes legitimately. Sandboxing can’t intercept that because the agent is doing exactly what it was designed to do. What sandboxing prevents is the full attack chain that follows. A non-root container with --cap-drop=ALL and no Docker socket can’t execute the 5-step host takeover even if the injection succeeds. The blast radius shrinks from “VPS owned permanently” to “agent misbehaves inside its container.”
Can I add back capabilities if OpenClaw features require them?
Yes — use --cap-add to restore only the specific capabilities OpenClaw requires, not a blanket set. The most common legitimate case is CAP_NET_BIND_SERVICE for binding ports below 1024 — OpenClaw doesn’t need this by default (it runs on 9090). Adding back ALL capabilities defeats the purpose entirely. Check the OpenClaw changelog for your specific version before adding any capability, since requirements change between releases. OpenClaw shipped 7 updates in a 2-week window in early 2026, so version-specific requirements matter.
OpenClaw needs to write files — doesn’t –read-only break that?
--read-only makes the container’s root filesystem read-only, but you can still mount specific writable paths. The correct pattern: start with --read-only, then add --tmpfs /tmp:rw,noexec,nosuid for temporary runtime data, and -v /opt/openclaw/data:/app/data:rw for persistent data. This gives OpenClaw exactly the write access it needs without opening the entire container filesystem. The noexec flag on tmpfs directories also prevents dropping and executing binaries in those paths.
What’s CVE-2026-25253 “ClawJacked” and is it separate from the Docker socket issue?
They’re separate attack vectors requiring separate fixes. CVE-2026-25253 (CVSS 8.8) is a WebSocket authentication bypass that allows a malicious website to hijack your OpenClaw instance through your browser — it works even on localhost-bound instances that have never been exposed to the internet. The Docker socket issue is a configuration mistake: mounting /var/run/docker.sock gives the container root-equivalent host access. ClawJacked is patched by upgrading to v2026.1.29 or later. The socket issue is fixed by never mounting it. Both fixes are required — one doesn’t address the other.
How do I confirm my OpenClaw container is running a patched version?
Run docker exec openclaw openclaw --version and check the output against the CVE tracker. For CVE-2026-25253, you need v2026.1.29 or later. OpenClaw pushed 7 updates in a 2-week window in early 2026, so a self-managed deployment running the version from a setup tutorial is likely several patches behind. The 9 disclosed CVEs in the tracker span the full severity range — patch currency matters as much as configuration correctness.