42,665 publicly exposed OpenClaw instances. 93.4% of them have authentication bypass conditions. That’s not a hypothetical — that’s what security researcher Maor Dayan found when he scanned the internet for OpenClaw gateways bound to 0.0.0.0 instead of localhost.
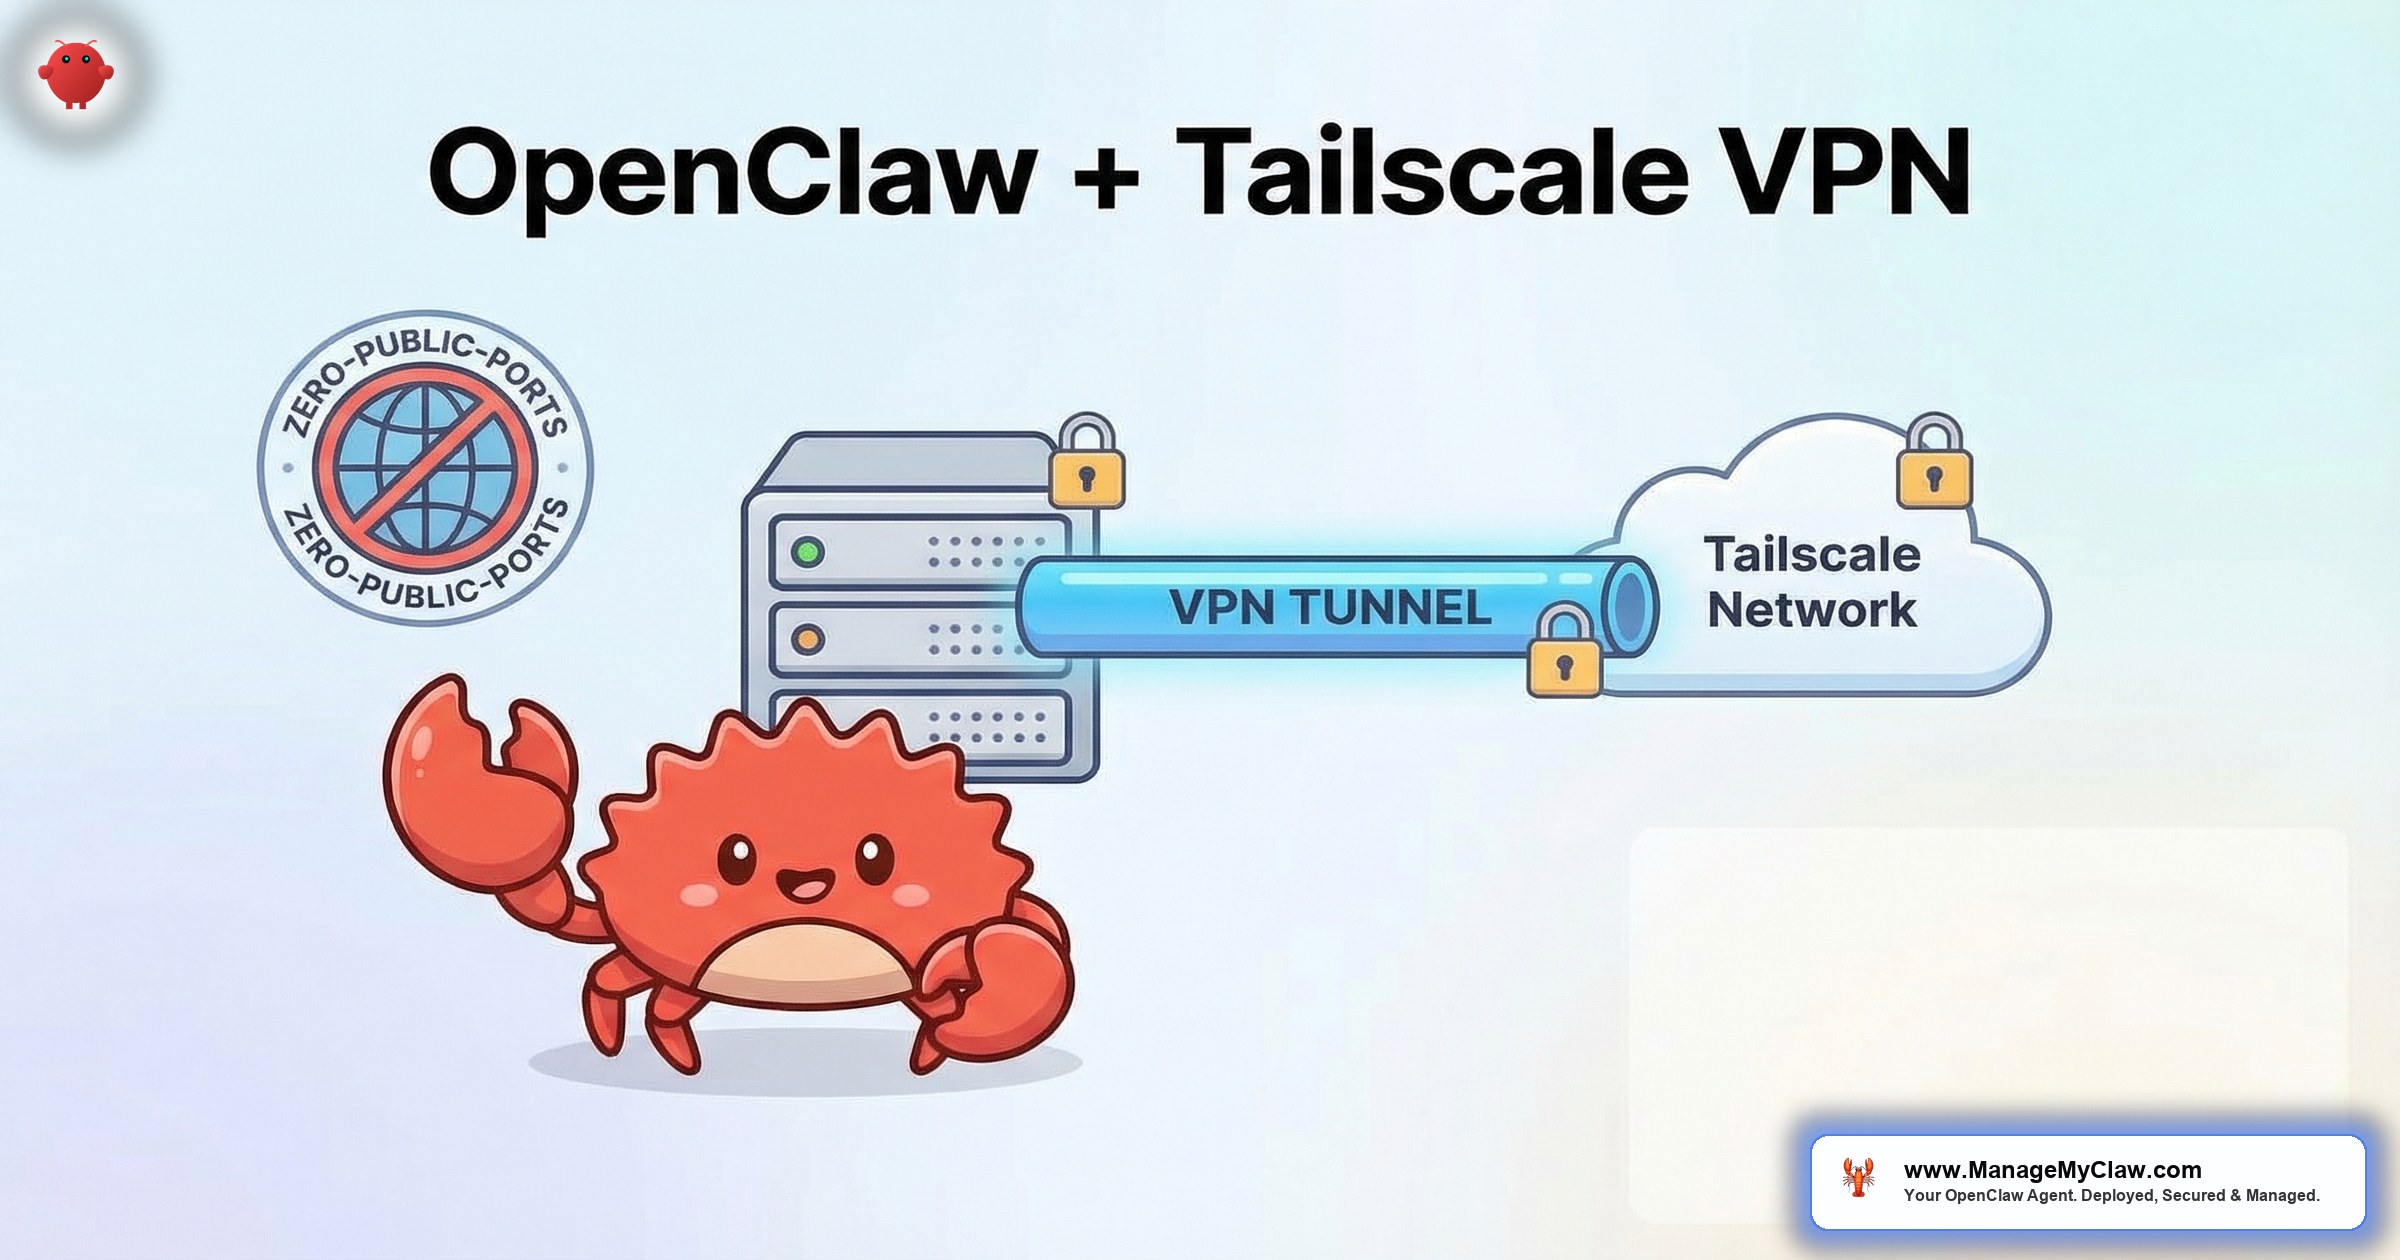
The fix isn’t complicated. Bind the gateway to localhost, lock the firewall, and use a VPN for remote access. Tailscale is the tool that makes the VPN part trivial — zero port forwarding, zero firewall rules to punch through, zero public IP exposure. It’s a mesh VPN built on WireGuard, and it’s the remote access layer we configure on every ManageMyClaw deployment.
If your OpenClaw gateway is reachable from the public internet, you don’t have a remote access solution. You have an invitation.
This guide walks through the full OpenClaw + Tailscale VPN remote access setup — from installation to MagicDNS to access control lists — so your agent is reachable from anywhere without being reachable by everyone.
Why Remote Access Matters (and Why Port Forwarding Isn’t the Answer)
OpenClaw runs on a VPS or a Mac Mini. You need to access the gateway interface, the API, and sometimes the terminal from wherever you happen to be — your office, your home, a hotel room. The naive solution is port forwarding: punch a hole in your firewall, expose port 3000 or 8080, maybe add basic auth.
The problem is that port forwarding turns your agent into a target. Every exposed port gets scanned. Shodan indexes it. Automated scripts probe it. OpenClaw’s 9 disclosed CVEs — including a CVSS 8.8 one-click remote code execution vulnerability — mean that an exposed gateway is a meaningful security risk, not a theoretical one.
On r/selfhosted, a thread titled “What VPN do you use for accessing your self-hosted services?” (312 upvotes, 187 comments) surfaced a clear consensus. The top comment: “Tailscale. Took 5 minutes. I don’t even think about it anymore.” The runner-up, with 89 upvotes: “WireGuard if you want to configure it yourself. Tailscale if you want it to just work.”
Why this matters: If you’re accessing your OpenClaw agent over the public internet — even with basic auth — you’re 1 CVE disclosure away from a bad day. Tailscale removes the attack surface entirely. No public ports, no exposed gateway, no scanning risk.
What Tailscale Actually Does
Tailscale creates a private mesh network between your devices. Every device gets a stable IP address on the 100.x.y.z range. Traffic between devices is encrypted end-to-end using WireGuard. No traffic passes through Tailscale’s servers — they only coordinate the initial connection, then devices talk directly to each other.
The practical result: your VPS running OpenClaw gets a Tailscale IP. Your laptop gets a Tailscale IP. You access the OpenClaw gateway at http://100.x.y.z:3000 from anywhere in the world, and nobody else can reach it because they’re not on your Tailscale network.
Key properties for OpenClaw deployments:
- No port forwarding required. Tailscale handles NAT traversal automatically. Works behind corporate firewalls, hotel Wi-Fi, and double-NAT setups.
- MagicDNS. Instead of remembering
100.87.42.15, you access your agent athttp://openclaw-vps:3000. Human-readable names for every device. - ACLs (Access Control Lists). Define which devices can reach which services. Your phone can access the gateway but not SSH. A team member can see the dashboard but not the config files.
- Free for personal use. Up to 100 devices, 3 users. More than enough for a solopreneur or small team running OpenClaw.
Step-by-Step: Installing Tailscale on Your OpenClaw VPS
This assumes you’re running Ubuntu 22.04 or 24.04 on your VPS — the most common setup for OpenClaw deployments. Total time: under 10 minutes.
Step 1: Install Tailscale
SSH into your VPS and run the official installer:
curl -fsSL https://tailscale.com/install.sh | shThen authenticate:
sudo tailscale upThis prints a URL. Open it in your browser, log in with your Tailscale account (Google, Microsoft, or GitHub SSO), and the VPS joins your tailnet. Done.
Step 2: Verify the Tailscale IP
tailscale ip -4This returns something like 100.87.42.15. That’s your VPS’s private address on the Tailscale network. Only devices on your tailnet can reach it.
Step 3: Bind the OpenClaw Gateway to Localhost
This is the critical step that most tutorials skip. In your OpenClaw configuration, ensure the gateway binds to 127.0.0.1, not 0.0.0.0:
{
  "gateway": {
    "host": "127.0.0.1",
    "port": 3000
  }
}
With the gateway on localhost, only processes on the VPS itself can connect. Tailscale’s serve or funnel feature then proxies the connection from the Tailscale network to localhost.
Step 4: Use Tailscale Serve for Secure Proxy
sudo tailscale serve --bg 3000This tells Tailscale to proxy HTTPS traffic on port 443 (the Tailscale default) to localhost:3000 where your OpenClaw gateway runs. You now access your agent at https://openclaw-vps.tail12345.ts.net — encrypted, authenticated, and invisible to the public internet.
Step 5: Install Tailscale on Your Access Devices
Install Tailscale on your laptop, phone, or any device you’ll use to access the agent. Apps are available for macOS, Windows, Linux, iOS, and Android. Log in with the same account. Every device on your tailnet can now reach the OpenClaw gateway — and nothing else can.
Configuring Tailscale ACLs for Multi-User Access
If you’re running OpenClaw for a team, you don’t want everyone to have SSH access to the VPS. Tailscale ACLs let you define granular permissions:
{
  "acls": [
    {
      "action": "accept",
      "src": ["group:admins"],
      "dst": ["tag:openclaw:*"]
    },
    {
      "action": "accept",
      "src": ["group:team"],
      "dst": ["tag:openclaw:443"]
    }
  ],
  "groups": {
    "group:admins": ["admin@company.com"],
    "group:team": ["dev@company.com", "ops@company.com"]
  },
  "tagOwners": {
    "tag:openclaw": ["group:admins"]
  }
}
In this setup, admins can access everything (SSH, gateway, any port). Team members can only access port 443 — the OpenClaw gateway interface, proxied through Tailscale Serve. No SSH, no Docker access, no config changes.
The same principle behind tool permission allowlists — least privilege — applied to your network access layer.
Why this matters: Without ACLs, everyone on your Tailscale network can reach every port on every device. That’s fine for a solo setup. For a team, it’s the network equivalent of giving everyone the root password. Define access boundaries before you add people.
MagicDNS: Human-Readable Access
Tailscale’s MagicDNS assigns human-readable names to every device on your tailnet. Instead of bookmarking https://100.87.42.15:443, you use https://openclaw-vps.tail12345.ts.net.
MagicDNS is enabled by default in new Tailscale accounts. To verify or enable it, go to the Tailscale admin console > DNS > Enable MagicDNS. You can rename devices in the admin console for clearer naming: “openclaw-prod,” “openclaw-staging,” “monitoring.”
For teams running multiple OpenClaw instances — staging and production, for example — MagicDNS names prevent the “which IP was production again?” problem that leads to accidentally modifying the wrong agent.
Tailscale SSH: Keyless, Audited Terminal Access
Standard SSH uses key files that can be stolen, shared, or left on compromised devices. Tailscale SSH replaces key-based authentication with identity-based authentication — you log in as the person Tailscale has already verified, and the connection is logged in your Tailscale audit trail.
Enable it on the VPS:
sudo tailscale up --sshThen from your laptop:
ssh openclaw-vpsNo key file. No password. No ssh-copy-id. Your identity is verified through your Tailscale account, and every session is recorded in the audit log. If you need to revoke someone’s access, you remove them from the tailnet — not from every authorized_keys file on every server.
Common Mistakes to Avoid
1. Leaving the gateway bound to 0.0.0.0. Installing Tailscale doesn’t automatically hide your gateway. If the gateway binds to all interfaces, it’s still accessible on the VPS’s public IP. You must change the bind address to 127.0.0.1 separately. Tailscale is the access method — localhost binding is the lock.
2. Forgetting the DOCKER-USER iptables chain. Even with Tailscale, if Docker is running with default networking, containers can still expose ports that bypass UFW. Configure the DOCKER-USER chain to drop traffic from public interfaces. This is the firewall rule that most DIY setups miss — and it’s the same gap those 42,665 exposed instances share.
3. Using Tailscale Funnel when you meant Tailscale Serve. Funnel exposes your service to the public internet through Tailscale’s infrastructure. Serve keeps it on your tailnet only. For OpenClaw, you almost always want Serve (private) — not Funnel (public). The commands look similar, and the consequences of mixing them up are significant.
4. Running Tailscale without key expiry. By default, Tailscale keys expire after 180 days. For a headless VPS, enable key expiry disabling carefully — or set up automatic key rotation. A node that drops off the tailnet because its key expired means your agent becomes unreachable until you SSH in through another path to re-authenticate.
Most VPN guides explain what to install. The mistakes that matter happen after installation — in the configuration choices you don’t realize you’re making.
Quick Reference: The Complete Setup Checklist
| Step | Action | Time |
|---|---|---|
| 1 | Install Tailscale on VPS | 2 minutes |
| 2 | Authenticate and join tailnet | 1 minute |
| 3 | Bind OpenClaw gateway to 127.0.0.1 | 2 minutes |
| 4 | Configure Tailscale Serve | 2 minutes |
| 5 | Install Tailscale on access devices | 3 minutes |
| 6 | Configure ACLs (teams only) | 5 minutes |
| 7 | Enable Tailscale SSH (optional) | 1 minute |
| 8 | Verify DOCKER-USER iptables chain | 3 minutes |
Total setup time: Under 20 minutes. Most of that time is the ACL configuration if you’re running a team. Solo setups take under 10 minutes.
The Bottom Line
Your OpenClaw gateway should never face the public internet. Tailscale makes that easy — zero config, zero port forwarding, zero public exposure. It’s the difference between a remote access solution and an open door. The 42,665 exposed instances aren’t all running without firewalls. Many of them have UFW configured. They’re exposed because the gateway binds to all interfaces and Docker bypasses UFW entirely.
Tailscale + localhost binding + DOCKER-USER chain. 3 layers. 20 minutes. The remote access problem is solved.
Frequently Asked Questions
Is Tailscale free for personal use with OpenClaw?
Yes. Tailscale’s free Personal plan supports up to 100 devices and 3 users. That’s more than enough for a solopreneur or small team running OpenClaw. If you need more than 3 users, the Starter plan runs $6 per user per month. For most OpenClaw deployments, the free tier is sufficient.
Does Tailscale add latency to my OpenClaw agent?
Minimal. Tailscale uses WireGuard, which adds roughly 1-3 milliseconds of overhead. In practice, you won’t notice it. The OpenClaw gateway response time is dominated by the AI model API call (typically 500-3,000 milliseconds), so the VPN overhead is negligible by comparison.
Can I use Tailscale with a Mac Mini running OpenClaw instead of a VPS?
Absolutely. Tailscale has a native macOS app. Install it, sign in, and your Mac Mini joins the tailnet just like a VPS would. This is especially useful for Mac Mini setups on a home network where you’d otherwise need to configure port forwarding through your router — which most ISPs complicate with CGNAT or dynamic IPs.
What’s the difference between Tailscale Serve and Tailscale Funnel?
Serve makes a local service available to other devices on your tailnet (private). Funnel makes it available to anyone on the internet through Tailscale’s proxy infrastructure (public). For OpenClaw, use Serve. You want your agent reachable only by your devices, not by the entire internet. Funnel defeats the entire purpose of using a VPN.
Do I still need UFW and the DOCKER-USER iptables chain if I’m using Tailscale?
Yes. Tailscale secures your remote access path. UFW and the DOCKER-USER chain secure the VPS itself from other network traffic. They’re different layers of defense. If someone compromises another service on your VPS, or if a Docker container exposes a port on the public interface, you need the firewall rules to catch it. The OpenClaw security hardening guide covers the full firewall configuration.
Skip the VPN Configuration
ManageMyClaw configures Tailscale VPN, firewall hardening, and secure remote access on every deployment — starting at $499, live in under 60 minutes. Once it’s running, you’ll want monitoring too.
View Plans — No Call Required