NemoClaw installs in 1 command. NVIDIA designed it as a wrapper around OpenClaw — adding kernel-level sandboxing (OpenShell), a YAML policy engine, and a privacy router for data sovereignty. Your existing OpenClaw workflows, skills, and Composio connections carry over. The agent itself doesn’t change. The security and governance layers around it do.
But “installs in 1 command” and “production-ready” are different things. Configuring OpenShell’s Landlock policies, writing YAML governance rules for your specific workflows, setting up privacy routing tables, and integrating with your existing security infrastructure takes 2-6 weeks of specialist work. The migration from OpenClaw to NemoClaw is not a version upgrade. It’s an architecture change.
NemoClaw doesn’t replace OpenClaw. It wraps it. Your agent runs on OpenClaw. NemoClaw governs what that agent is allowed to do — at the kernel level, not the prompt level.
This guide covers the complete OpenClaw to NemoClaw migration — prerequisites, architecture changes, configuration mapping, and the timeline for getting from a working OpenClaw deployment to a production-grade NemoClaw installation.
What Changes (and What Doesn’t)
| Component | OpenClaw | NemoClaw | Migration Impact |
|---|---|---|---|
| Agent core | OpenClaw | OpenClaw (unchanged) | None — your agent works the same |
| Workflows | Your existing workflows | Same workflows | None — workflows carry over |
| Skills | ClawHub skills | Same skills | None — skills carry over |
| Sandbox | Docker (userspace) | OpenShell (kernel-level) | Major — new security layer |
| Policy engine | Tool allowlists in config | YAML policy engine (4-level) | Major — new governance layer |
| Model routing | ClawRouter (cost-based) | Privacy router (sensitivity-based) | Major — data sovereignty |
| Monitoring | Grafana + Prometheus | Grafana + Prometheus + NemoClaw metrics | Extension — add NemoClaw dashboards |
| Composio OAuth | Connected | Connected (unchanged) | None — connections carry over |
The short version: Your agent, workflows, skills, and Composio connections don’t change. What changes is the security and governance infrastructure around them. NemoClaw adds 3 new components (OpenShell, policy engine, privacy router) that each need configuration, testing, and monitoring.
Prerequisites Before Migration
1. Linux host (required). NemoClaw’s OpenShell sandbox uses Linux kernel features (Landlock, seccomp). macOS and Windows are not supported. If you’re running OpenClaw on a Mac Mini, migration to NemoClaw requires moving to a Linux VPS or DGX Spark.
2. Minimum 4 vCPU, 8GB RAM. NemoClaw’s components add overhead beyond OpenClaw’s baseline. If your current VPS is 4GB, upgrade to 8GB before migrating.
3. Document your current OpenClaw configuration. Before migrating, export your openclaw.json, your tool permission allowlists, your scheduled workflows, and your installed skills. This documentation becomes the basis for your NemoClaw policy configuration.
4. Understand your data sensitivity requirements. The privacy router needs a classification scheme: which data is sensitive (stays local) and which is general (can go to cloud models). Define this before you start — not during configuration.
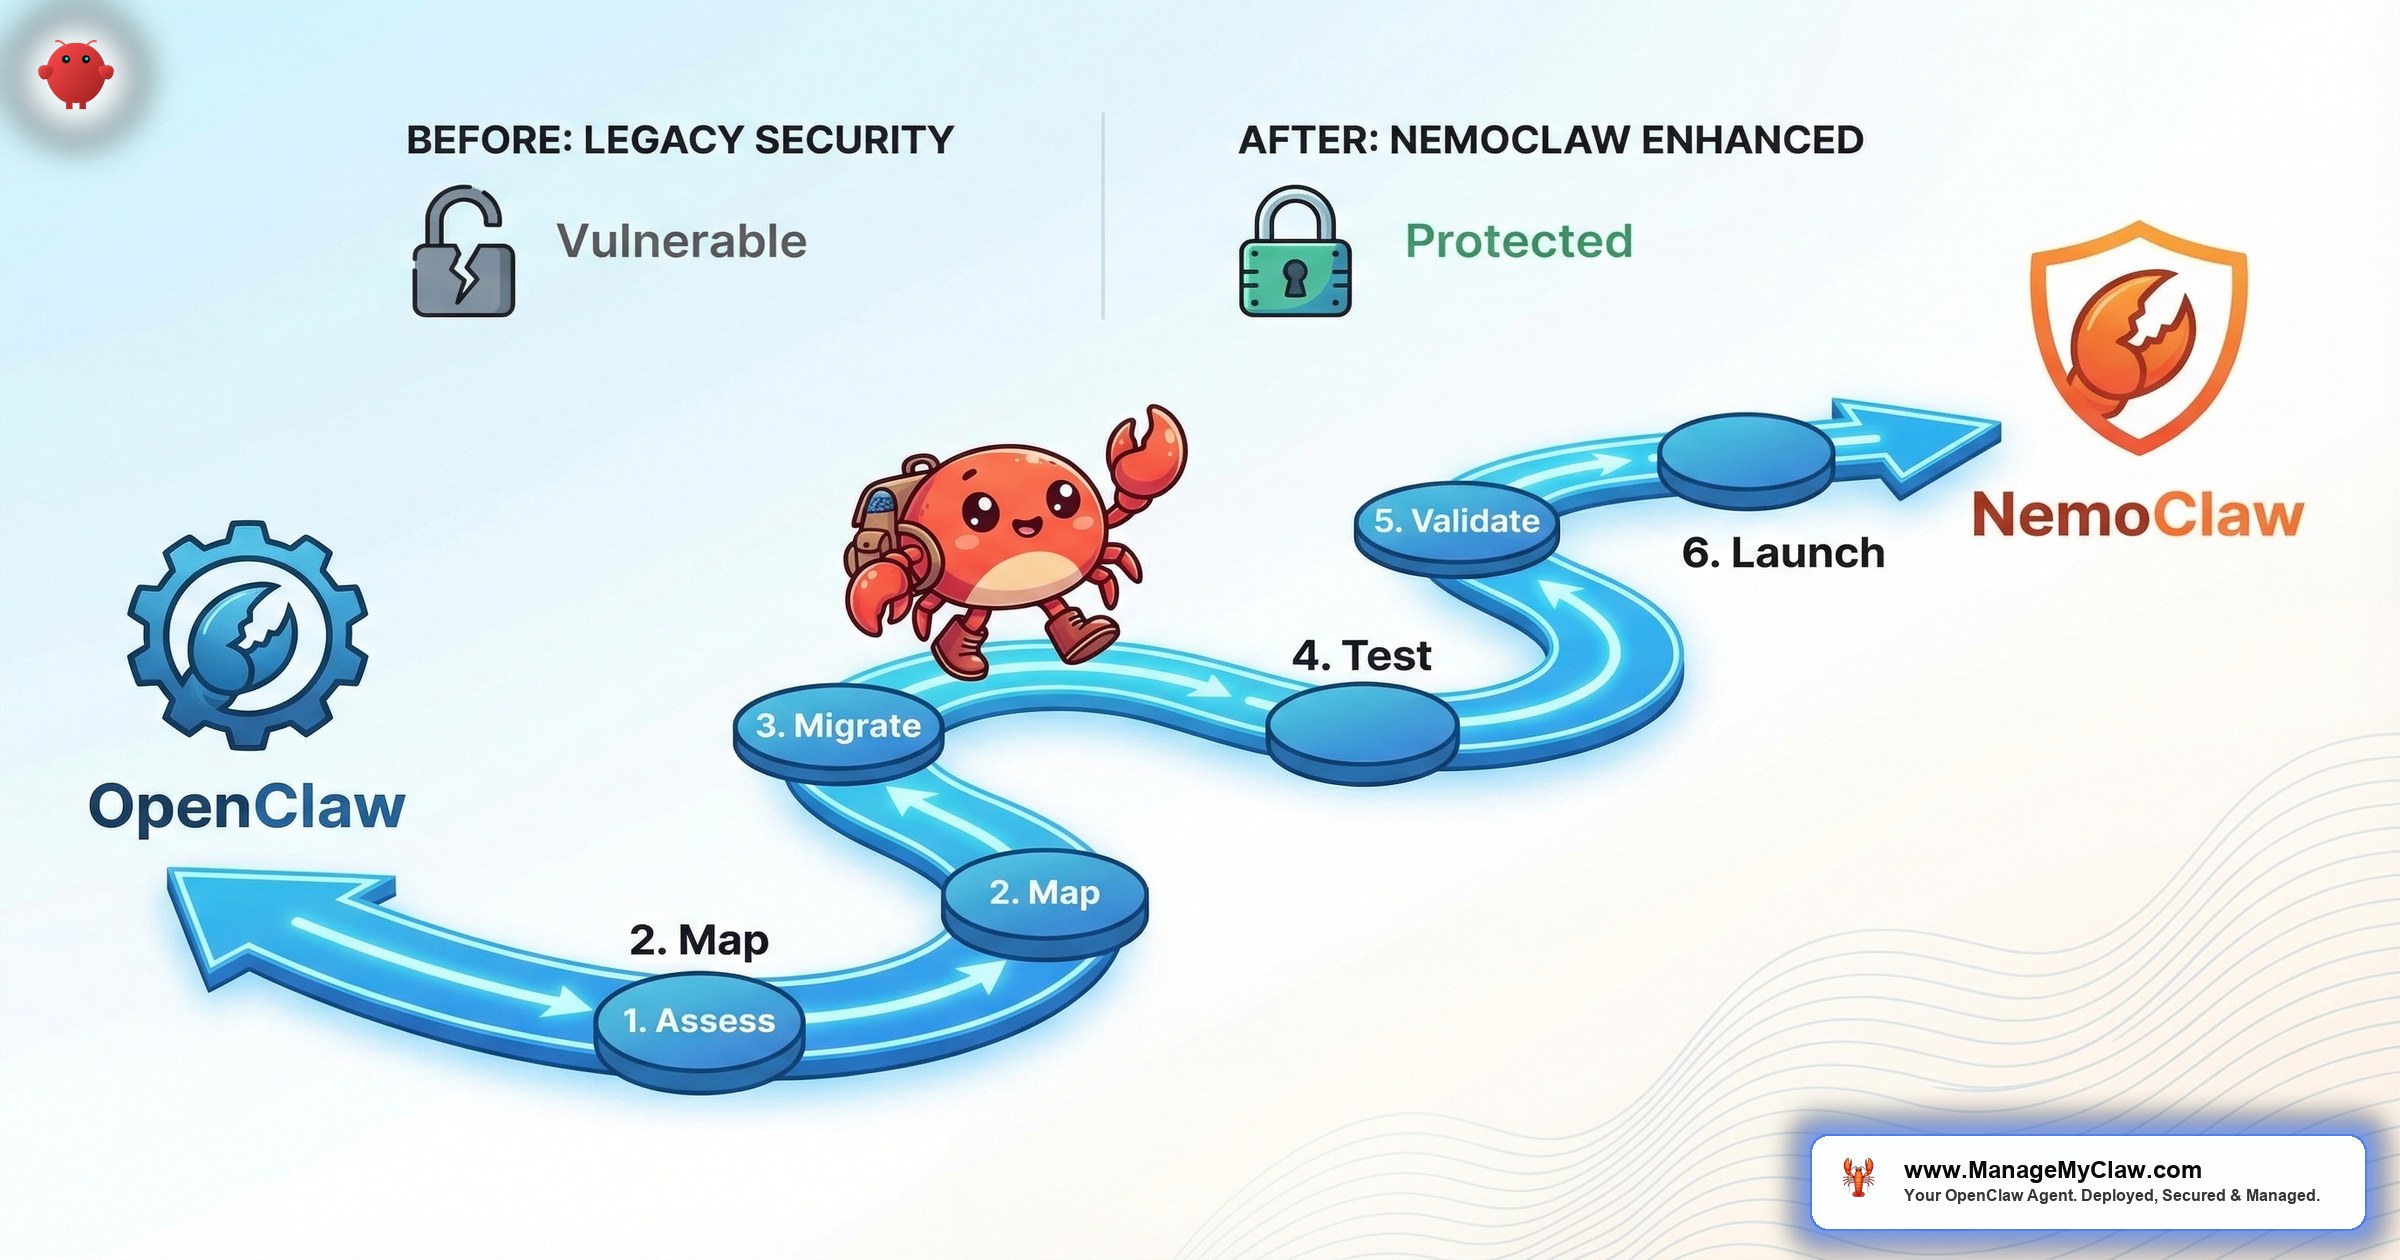
The Migration Path: Step by Step
Phase 1: Install NemoClaw (Day 1)
NemoClaw installs as a wrapper around your existing OpenClaw installation:
curl -fsSL https://nemoclaw.nvidia.com/install.sh | shThis installs the OpenShell binary, the policy engine, and the privacy router. Your existing OpenClaw installation remains intact. NemoClaw doesn’t modify OpenClaw — it adds layers around it.
Phase 2: Configure OpenShell Sandbox (Days 2-5)
OpenShell replaces Docker as the primary sandbox. Configure Landlock filesystem policies (which directories the agent can read/write), seccomp filters (which syscalls are allowed), and network namespaces (which network destinations are reachable).
Start with a permissive configuration that mirrors your current Docker setup, then tighten incrementally. Run in monitor-only mode for the first 48 hours to see which actions the sandbox would block without actually blocking them.
Phase 3: Write YAML Policies (Days 5-10)
Translate your OpenClaw tool permission allowlists into NemoClaw’s 4-level YAML policy format:
policies:
  - name: email-triage-agent
    rules:
      - binary: allow
        destination: "gmail.googleapis.com"
        method: GET
        path: "/gmail/v1/users/me/messages/*"
      - binary: deny
        destination: "gmail.googleapis.com"
        method: DELETE
        path: "*"
      - binary: allow
        destination: "api.anthropic.com"
        method: POST
        path: "/v1/messages"
The YAML policy engine is more granular than OpenClaw’s allowlists. Instead of “allow read_email, deny delete_email,” you define rules at the HTTP method and path level. This takes longer to configure but provides audit-grade governance — every permitted action is documented in the policy file.
Phase 4: Configure Privacy Router (Days 10-14)
The privacy router replaces OpenClaw’s ClawRouter as the model routing layer. Instead of routing by task complexity (cost optimization), it routes by data sensitivity (privacy). Sensitive queries go to local Nemotron models. General queries go to cloud APIs.
Define your routing table: which data categories are sensitive (PII, financial, medical, legal) and which are general (research, formatting, categorization). If you don’t have local inference hardware, the privacy router can route all queries to cloud — but you lose the data sovereignty benefit.
Phase 5: Testing and Validation (Days 14-21)
Run your existing workflows through the NemoClaw stack. Verify that:
- All scheduled workflows execute successfully
- The sandbox doesn’t block legitimate agent actions
- Policy denials match your intended access controls
- The privacy router correctly classifies sensitive vs. general queries
- Monitoring dashboards show all 3 NemoClaw components healthy
Phase 6: Production Cutover (Day 21+)
Switch your production workloads to the NemoClaw-wrapped deployment. Keep the old OpenClaw-only deployment available as a rollback target for 1 week. Monitor closely for the first 72 hours — pay special attention to policy denials and privacy routing decisions.
Timeline Summary
| Phase | Duration | Complexity |
|---|---|---|
| Installation | 1 day | Low |
| OpenShell configuration | 3–4 days | High |
| YAML policy writing | 5–7 days | High |
| Privacy router setup | 3–4 days | Medium |
| Testing and validation | 5–7 days | Medium |
| Production cutover | 1 day | Low |
| Total | 3–4 weeks | — |
Why this matters: NemoClaw’s “installs in 1 command” claim is technically accurate. But installation is 5% of the work. The other 95% is configuration, testing, and validation. Enterprise organizations should plan for 3-6 weeks for a full migration, depending on the number of agents and complexity of governance requirements.
The Bottom Line
Migrating from OpenClaw to NemoClaw is an architecture upgrade, not a version upgrade. Your agent, workflows, and skills carry over unchanged. What you’re adding is enterprise-grade governance: kernel-level sandboxing, YAML policy enforcement, and privacy-aware model routing. The installation is trivial. The configuration is the real work — and it’s the configuration that determines whether NemoClaw is a security layer or just another tool you installed.
NemoClaw is currently in alpha. The core security primitives work today. Early adopters who build governance now will be production-ready when NemoClaw reaches general availability. Organizations that wait will be 6-12 months behind.
Frequently Asked Questions
Can I run NemoClaw on the same server as my existing OpenClaw deployment?
Yes. NemoClaw wraps your existing OpenClaw installation. It doesn’t replace it or require a separate server. You’ll need to upgrade to 8GB RAM minimum if you’re currently on 4GB, but the deployment runs on the same infrastructure.
Do I lose my Composio connections during migration?
No. Composio OAuth connections are maintained at the agent level, which doesn’t change during NemoClaw migration. Your Gmail, Slack, Calendar, and CRM connections carry over. The policy engine may restrict how those connections are used (which is the point), but the connections themselves remain intact.
Can I roll back to OpenClaw-only if NemoClaw doesn’t work for us?
Yes. Since NemoClaw is a wrapper, removing it returns you to your original OpenClaw deployment. We recommend keeping the OpenClaw-only configuration as a rollback target for at least 1 week after production cutover. No vendor lock-in — NemoClaw is open source.
Does ManageMyClaw handle the migration?
Yes. ManageMyClaw’s NemoClaw Implementation tier ($15,000-$45,000) covers the full migration: OpenShell configuration, YAML policy writing, privacy router setup, testing, production cutover, and 30-day hypercare. For organizations exploring NemoClaw, the Assessment tier ($2,500) provides an architecture review and migration plan before committing to implementation. Schedule a review.
Is NemoClaw production-ready?
NemoClaw is in alpha/early-access as of March 2026. NVIDIA shipped it with 17 launch partners including Adobe, Salesforce, SAP, and CrowdStrike. The core security primitives (OpenShell sandbox, policy engine, privacy router) work today. Production readiness depends on your risk tolerance for alpha software — the security architecture is sound, but expect API changes and configuration format updates as NemoClaw moves toward general availability.
NemoClaw Migration, Professionally Managed
ManageMyClaw handles the full OpenClaw-to-NemoClaw migration — sandbox configuration, policy engineering, privacy routing, and 30-day hypercare. Start with a $2,500 assessment or go straight to implementation.
Schedule Architecture Review